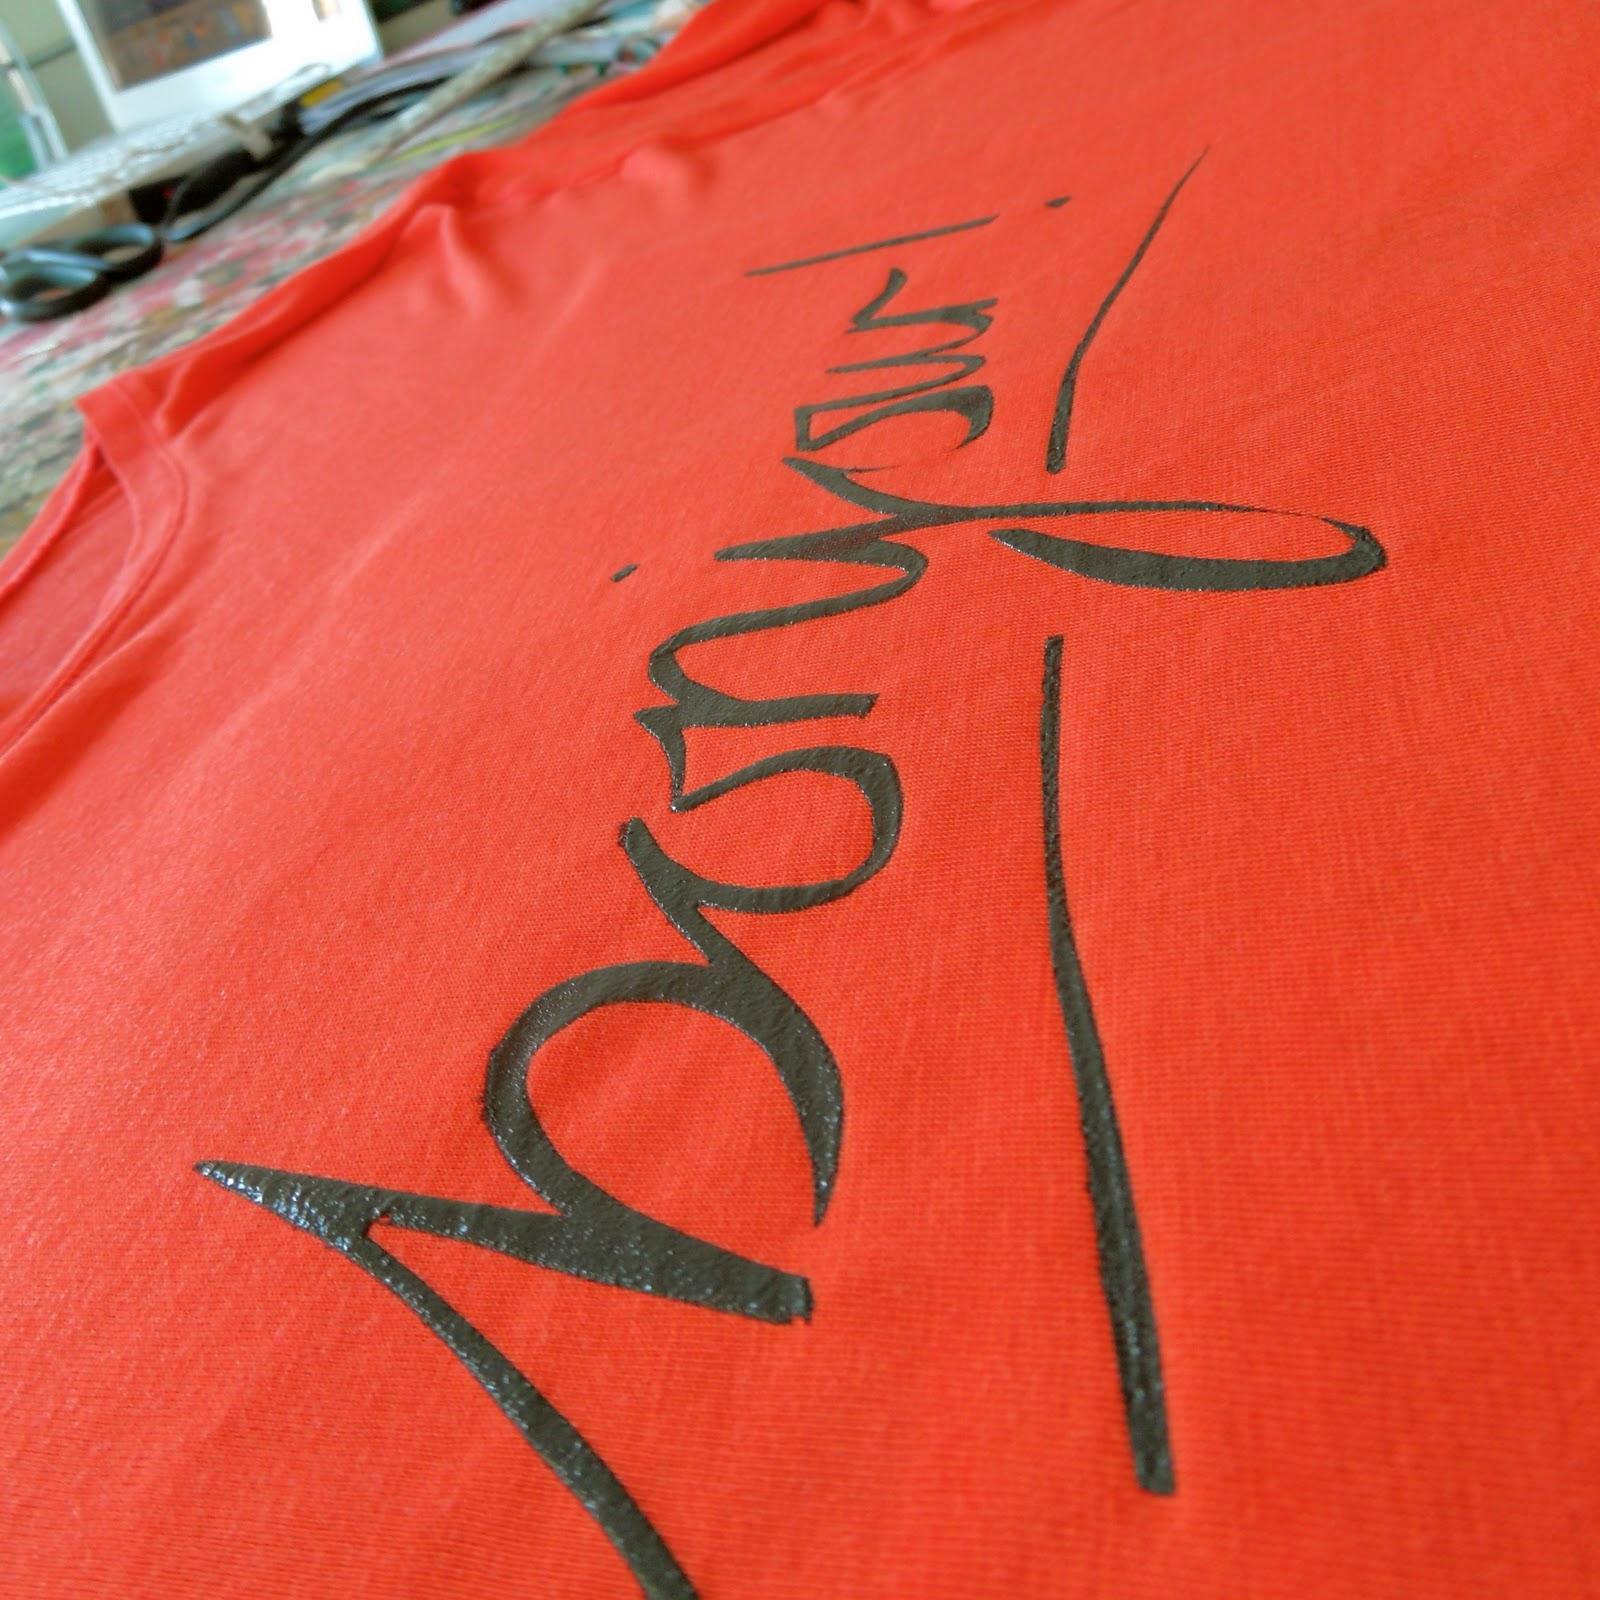
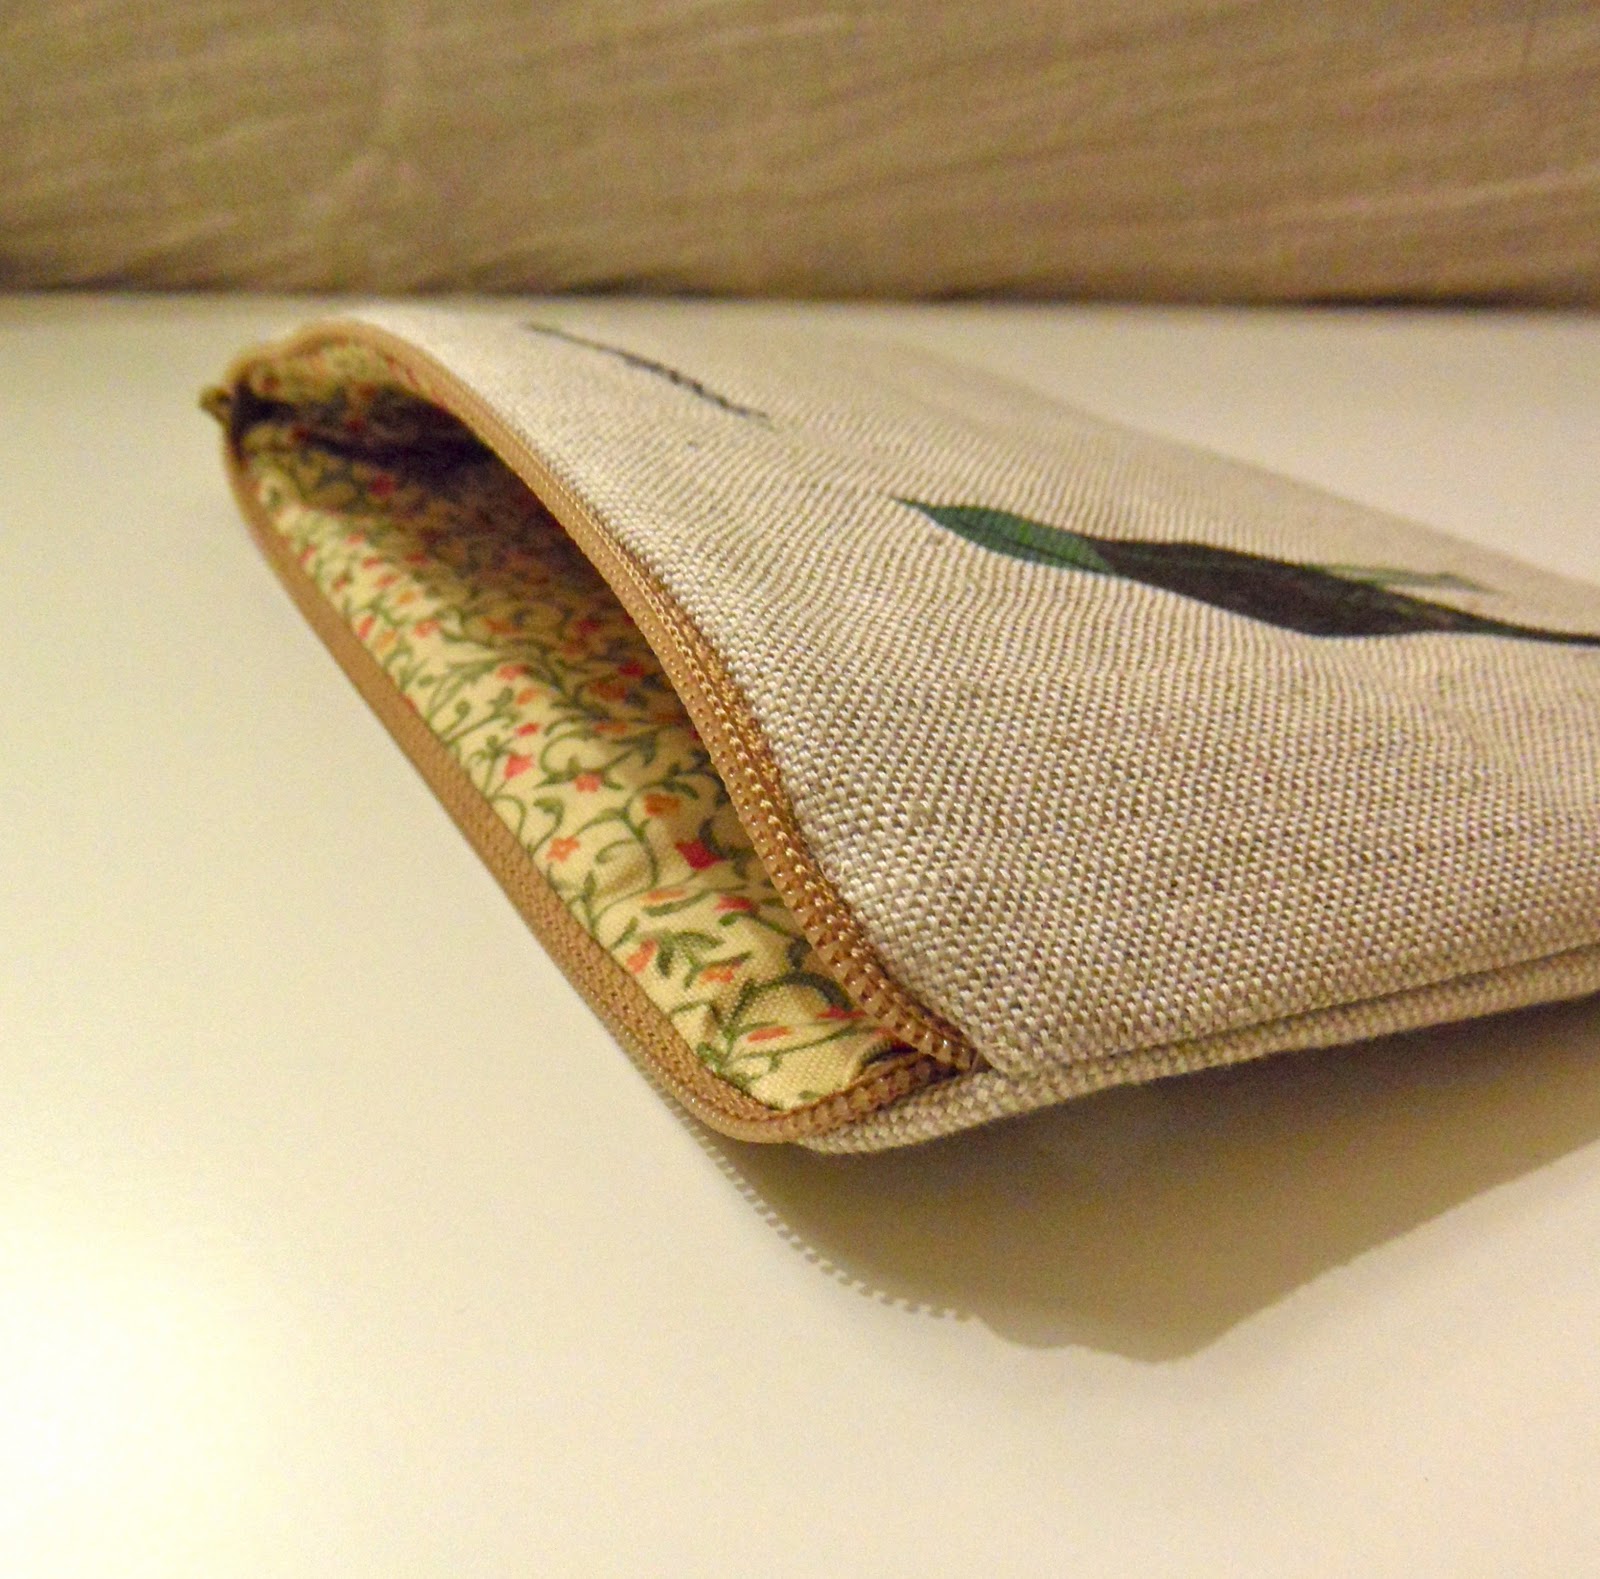
Showing posts with label Techniques. Show all posts

Thursday, 27 October 2011

My Current Top 5 Crafty DIY Projects!

I love trawling through blogs and finding all kinds of inspiring images, ideas and projects! I thought I'd share a few beautiful diy projects that anyone could do! Simple ideas but they look sooo effective!
Just click on the image or the links below to see the full tutorials from their original blogs.

Make your own floral suitcase! Such a lovely idea, I really have to try it out!! I found this diy project on a wonderful blog called A Beautiful Mess.

Image from A Beautiful Mess Blog


I've always wanted to know how you make these fantastic paper pom poms, and now I do! I may decorate my whole house with them :)  I found the tutorial on Poppytalk.

Image found on Poppytalk

Such a great idea for tiny gardens! This would look amazing if you repeated the pallets to cover a whole wall!! I found this tutorial via DesignSponge.

Image from DesignSponge

A very clever ideas for parties, especially now we're getting into Christmas party season! This tutorial is from Always Order Desserts.

Image from Always Order Desserts

This last one isn't really a tutorial, but its a fantastic idea! Use old photographs as tags, for products or even Christmas presents! You could also use old postcards, pages from books or vintage magazines! I found this image on Red Velvets Facebook Page.

Image from Red Velvet Shop

Saturday, 15 October 2011

Stencils

This week I bought myself a new screen as I'm developing a new pattern :) But as the pattern isn't yet finished I thought I'd try out some stenciling.
I just drew my designs onto some thin card, cut them out with a craft knife and stuck them onto my screen with some masking tape. Its pretty simple, and you could do this without the screen! Just draw your design onto some acetate, cut out with a craft knife and dab some printing inks or paint over the stencil with a brush. There are plenty of tutorials for stenciling all over the internet!

Here's a peek at what I printed!


As you can see, the ink is still wet, and should dry a bit darker and be a bit more bold, as it seems a little lost on the floral fabric...

Its such a good way of making a one off product, or for updating a tshirt or dress!

Monday, 8 August 2011

Making a banner for craft fair stalls

Today I've been making a banner to display on my craft fair stalls. I started by choosing the fonts and colours I wanted to use, I then printed them onto transfer paper. This is a very quick and easy way of getting images onto fabric. All you do is cut the image out and iron it onto the fabric, once cool, peel off the backing and your image will be stuck on the fabric! Simple :)

I cut my banner from a roll of cotton canvas

I then hemmed the edges with a simple straight stitch on the sewing machine
After roughly cutting the words, I placed them onto the banner to check the placement etc

Next is to cut carefully around the edges of the words, leaving a border of a few millimeters.
I put them back onto the banner to make sure they fit and lined up ok
The last stage is to iron the words on, iron each word for about 30 seconds-ish and leave the backing paper on until all the words are ironed on, otherwise they may melt off if your iron touches them!

Saturday, 8 January 2011

Making a zip up bag

For this zip up bag, I ironed on a piece of interfacing to the back of the linen which was going to be the outer part of the bag. This made it much sturdier and less wibbly wobbly :)

Here's some photos of how I made it...


 Sewing the zip onto the outer layer...


 Sewing the inner...


 Repeating the process on the other side...


Sewing up the sides...


 After turning it the right way round...


 Hand stitching the base of the lining...


The finished bag!


Its big enough to use as a pencil case or a cosmetics bag :)

If you want to make your own there are some great tutorials online of how to make different variations of a zip purse. I just googled Zip Pouch and loads came up!

These are a few of my faves:
  • Twelve 22 does a nice bag with comic book fabric!
  • Flossie Teacakes has a tutorial for a very pretty floral purse.
  • Theres a very simple set of instructions on Squidoo which is how I learnt to make zip bags!


Friday, 7 January 2011

Using iron on transfer paper...


I've made loads of transfers from my bird illustrations. I used transfer paper which you just stick into the printer and print out at home. Its such an easy and quick way of seeing your designs on a fabric surface. I've started to turn them into little zip up purses and make up bags.


This will be one of the cosmetic bags, its already had its interfacing ironed onto the back so its ready to be sewn up :)


Left over transfers which I will iron onto some fabric and turn into even more purses!


These will be turned into little zip purses.


These will be turned into cosmetic bags or clutch bags or something....


Transfers ironed on, fabric cut to size, zips at the ready.. all they need is some interfacing ironed on the back and a bit of sewing machine magic :)


Fabric cut to size for the inners of the purses.. I've tried to use scraps of vintage fabric which I've collected over time from charity shops and car boot sales.


Zips at the ready...


Some finished purses...These were first attempts and I didnt use any interfacing so they're a bit wibbly...